

Last updated September 10, 2026
Full 25-point door and opener safety check with every visit - springs, cables, rollers, tracks, and your LiftMaster or Chamberlain opener included
You get a price before we start. It does not change when the truck arrives.

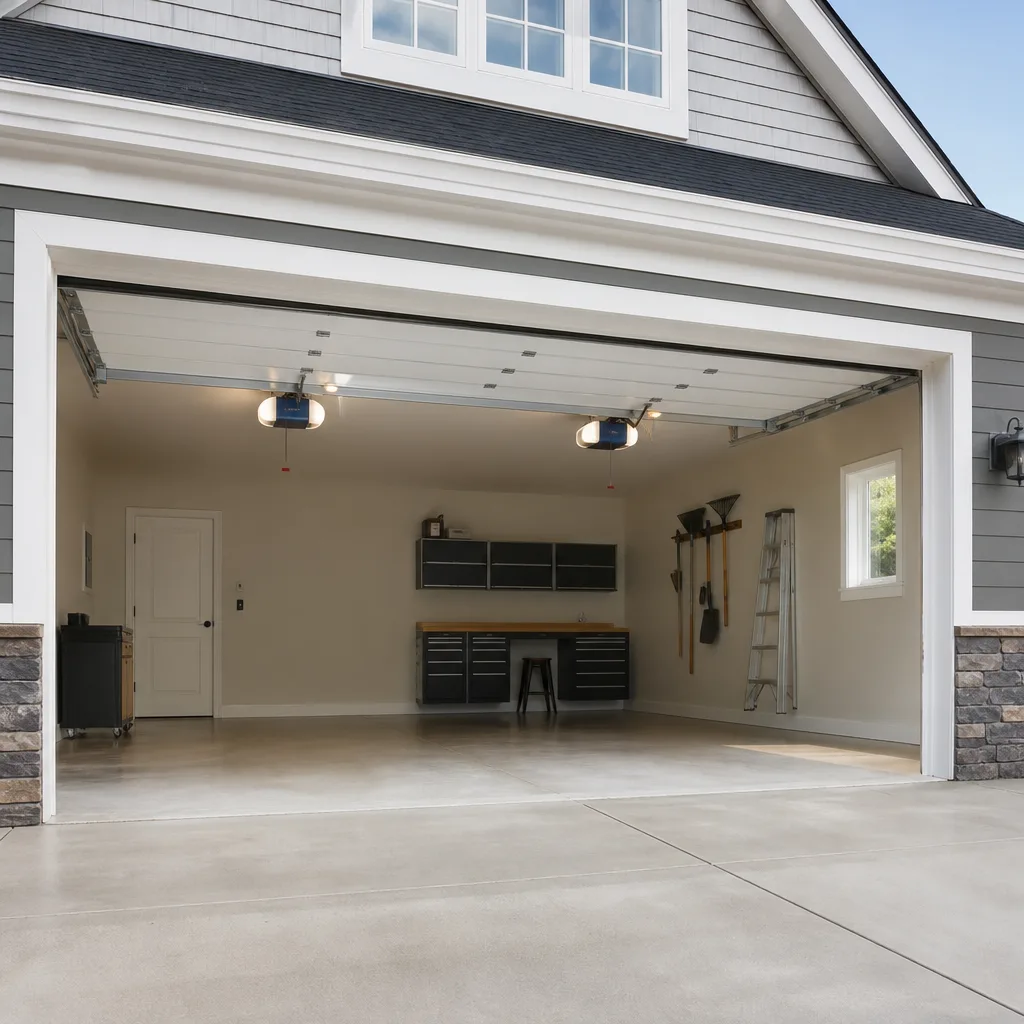
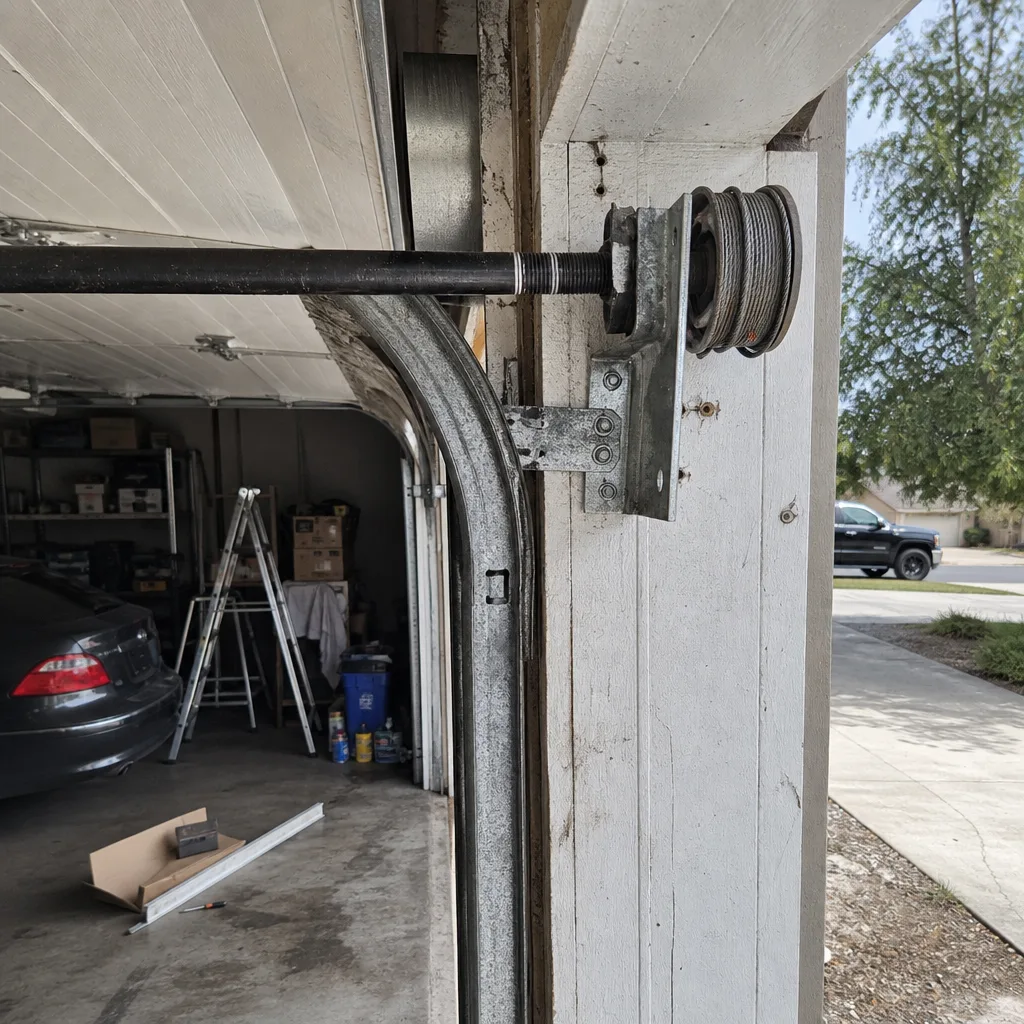 Before
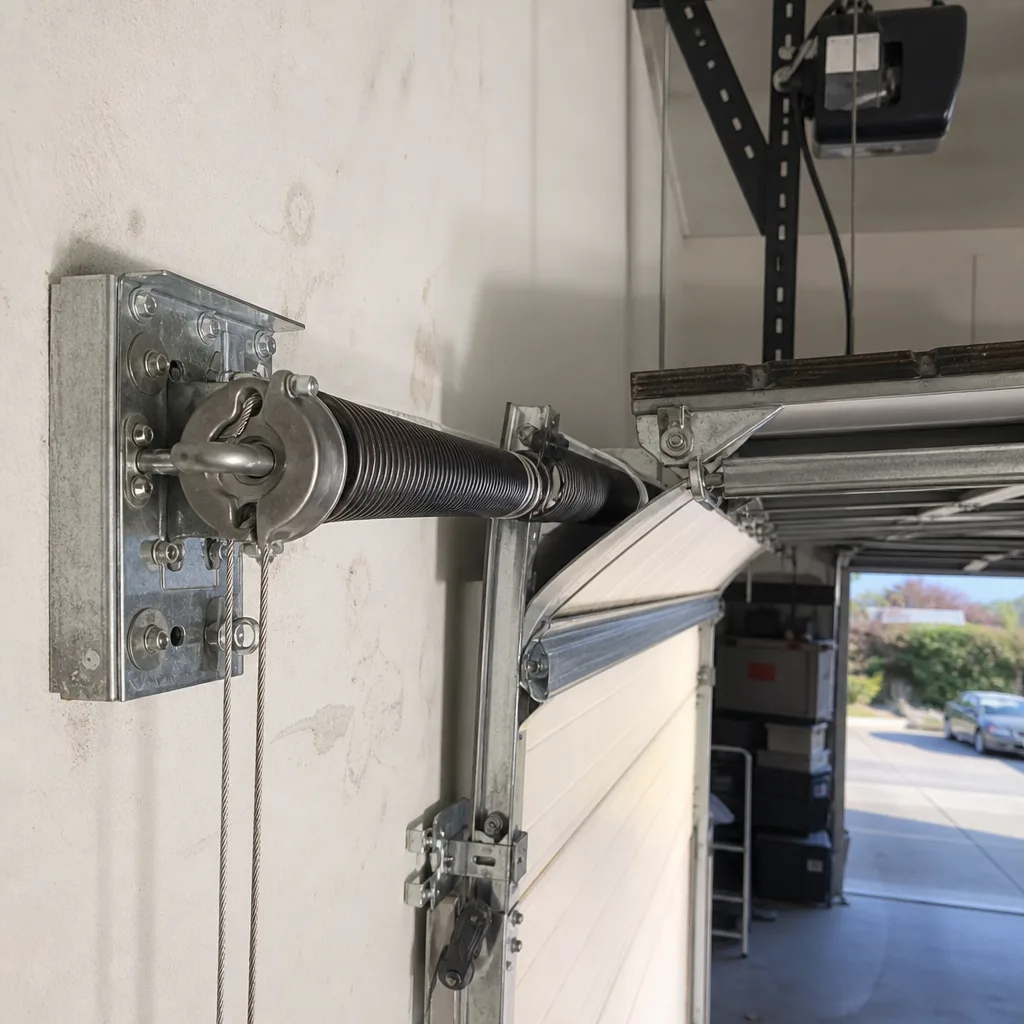 After
After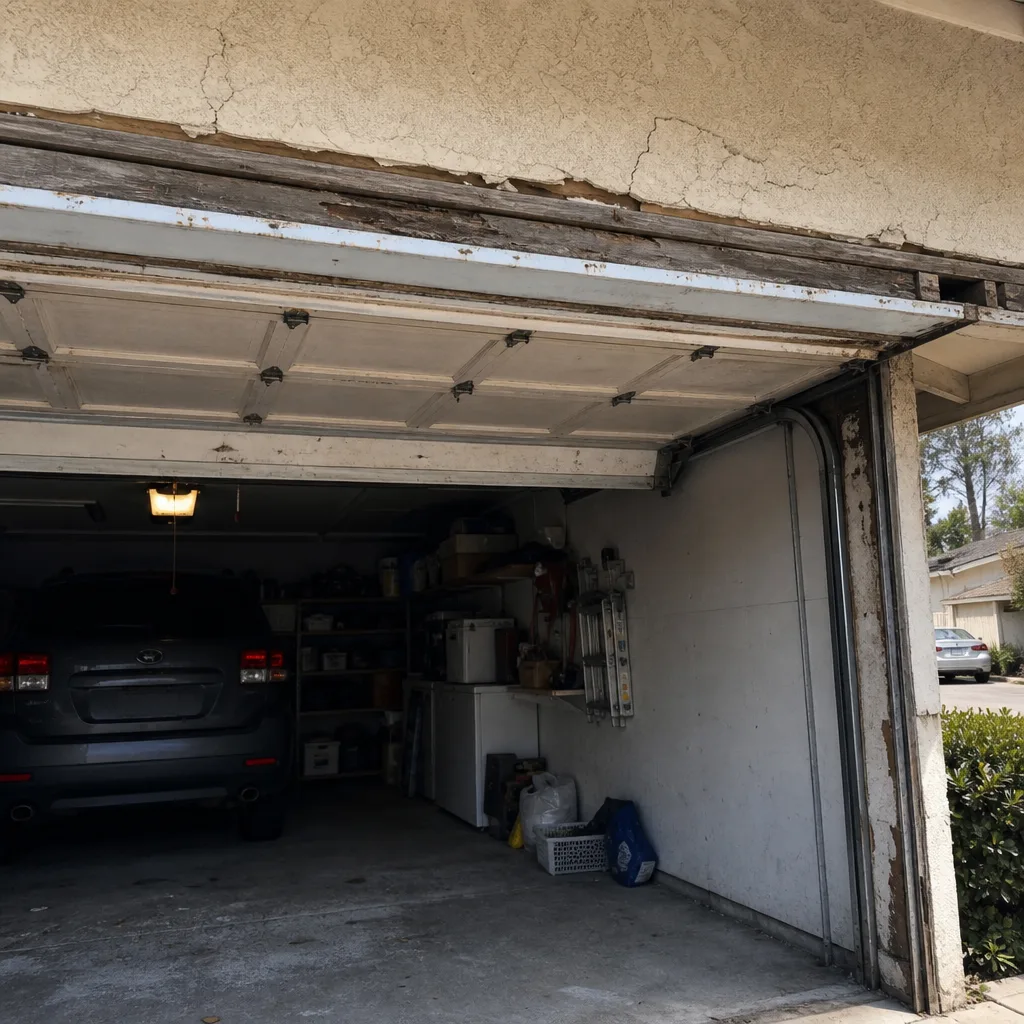 Before
 After
After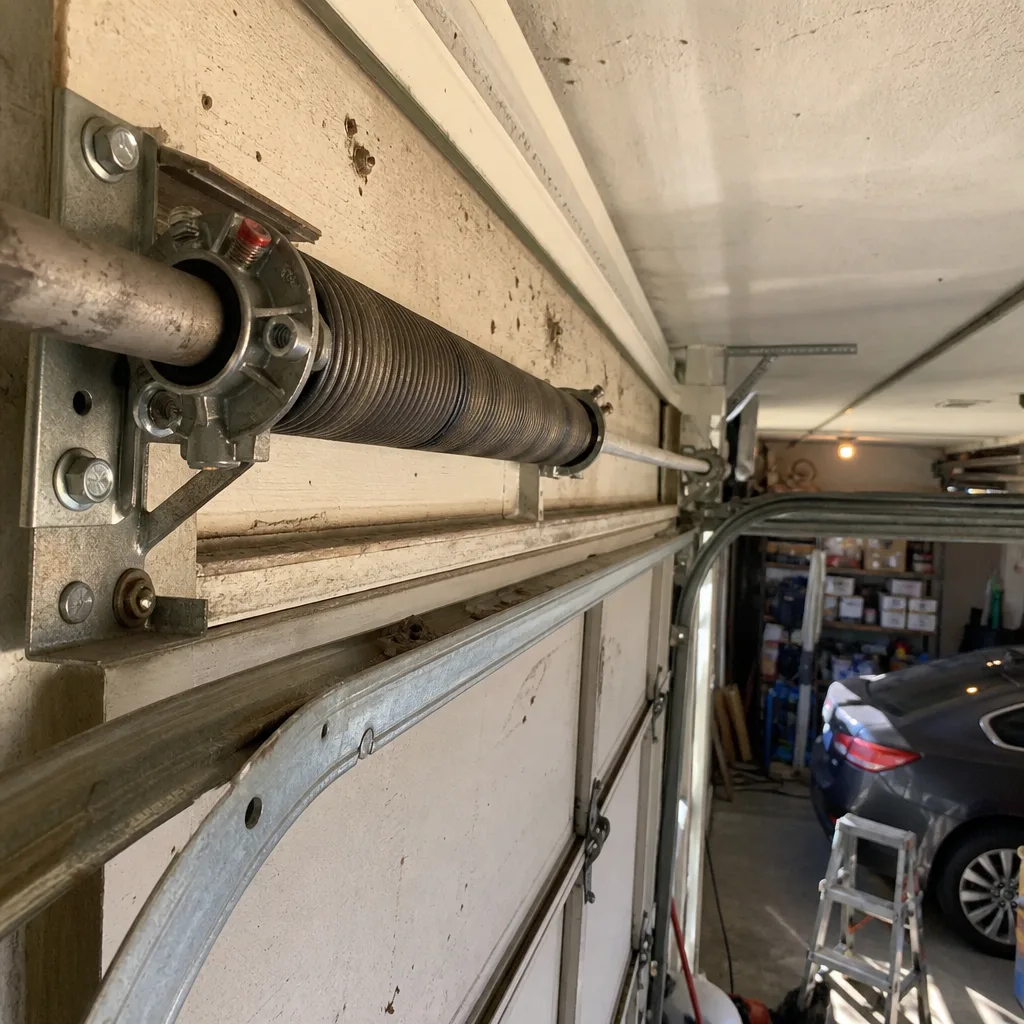 Before
 After
AfterGarage Door Repair Maintenance Checklist for Valley Center Homeowners
Here’s a number that should stop you mid-sip of coffee: we pull up to at least three emergency calls a month in Valley Center where the fix would have been fifteen minutes of attention eight weeks earlier. A spring didn’t snap in one violent moment. It cracked, corroded, and cycled itself to death over eighteen months while nobody looked at it. A track didn’t bend itself. Caliche dust ground into the rollers for a full dry season until one of them seized on a Sunday. This checklist is built specifically for what our valley does to doors: wind-driven grit, relentless UV, wild temperature swings between Cole Grade Road mornings and Harrah’s afternoons. Read it, walk out to your garage with a flashlight, and spend ten minutes twice a year. You will stop paying for Garage Door Repair emergency calls. That’s the whole point.
Quick Answer
A garage door maintenance checklist for Valley Center homeowners comes down to ten minutes of inspection and lubrication twice a year, timed for early March and late September. Check the springs, rollers, tracks, weatherstripping, and auto-reverse function while you clean out the caliche dust that our dry summers pack into every moving part. Doors that get this ten minutes routinely last 18 to 22 years in our climate; doors that don’t average 8 to 12, and most of those die on the hottest Saturday of July or the coldest Tuesday of January.
Table of Contents
- Why Valley Center Doors Fail Differently
- The Seasonal Split: What to Do in March, What to Do in September
- The Three-Point Ground-Level Spring Check
- Caliche and Dust: The Silent Track Killer
- UV-Baked Weatherstripping: The Seal That Quits First
- What to Lubricate, What to Leave Alone, and One Product That Ruins Rollers
- Opener Tests That Catch Failures Before They Strand You
- Common Mistakes to Avoid
- When to Call a Professional
- Frequently Asked Questions
- The Bottom Line
Why Valley Center Doors Fail Differently
A garage door in Valley Center lives a harder life than the same door in Escondido or San Marcos. Elevation, wind, dust, and sun combine in ways that national maintenance guides never account for. Understanding the four local conditions that shorten door life is the foundation of everything else on this list.
First, wind-driven dust. Valley Center sits high enough and open enough that the afternoon winds pick up fine mineral particles and drive them into every crack on the north and east sides of structures. Your garage door faces one of those directions. That dust doesn’t just sit on the surface; it works into roller bearings, hinge pins, and the track channel. Once it mixes with the lubricant that every door needs, it forms a grinding paste. We have pulled track rollers out of Doors that looked perfect on the outside and found the ball bearings worn flat and gray, the grease turned to mud. That’s not a manufacturing defect. That’s six months of Valley Center dust doing its job.
Second, UV exposure on south and west-facing panels. The sun up here is stronger than coastal sun, and it works on steel and fiberglass panels every day. Paint fades first, which is cosmetic. But the same UV that fades paint also degrades the vinyl and rubber components: bottom seals, side weatherstripping, and the insulating materials inside the panel. A bottom seal on a south-facing door in Valley Center lasts three to five years. On a north-facing door, it might last eight. Same product, same installation, one variable: how many hours of direct sun it absorbs. This isn’t a general guideline; it’s the specific reason your neighbor’s seal is crumbling while yours looks fine, or vice versa.
Third, temperature swings. Valley Center doesn’t get the extremes of the high desert, but we get enough spread, especially in winter when a 28-degree night follows a 68-degree day. Springs are rated for a specific number of cycles, and each cycle loads and unloads the steel. Rapid temperature changes cause the metal to expand and contract, which accelerates fatigue at the stress points inside the coil. It’s not dramatic. It’s cumulative. A spring that would last 10,000 cycles in coastal Carlsbad might give you 8,000 here. That’s the difference between calling us in year nine and year eleven.
Fourth, humidity swings. We get long dry stretches punctuated by occasional heavy dew and fog mornings, especially in the areas down toward Lilac and Old Castle Road. That moisture sits on unprotected metal overnight and dries off by ten in the morning. Repeated exposure encourages rust at exactly the places you can’t see: inside the spring coil, on the hinge pin, at the roller stem. Surface rust is no big deal. Pitting rust is a crack waiting to happen.
Which brings us back to the main point. The checklist that follows is not the generic “inspect your door” list that every national site publishes. It’s organized around what actually fails in Valley Center, in the order it fails, with the specific things to look for that signal trouble before it becomes an emergency.
The Seasonal Split: What to Do in March, What to Do in September
Twice a year is the right cadence for our climate. Not because the door needs that much attention, but because the two seasons up here stress different components in different ways. The March pass prepares the door for summer heat and the dust season. The September pass prepares it for the occasional freeze, the winter moisture, and the shorter days when a dead opener leaves you standing in the dark. Here’s the split.
March Checklist (Pre-Summer)
- Clean the tracks after the winter moisture. We get just enough winter dampness to cake dust into the bottom bends of the track. Use a dry rag or a shop vacuum. No solvents, no water. You want the track dry and clean before the summer dust starts blowing.
- Lubricate all pivot points with a silicone-based lubricant. Map every hinge, the spring coils, the roller stems, and the bearing plates at the ends of the torsion tube. If it’s metal and it moves, it gets a shot. More detail in the lubrication section below.
- Set the auto-reverse force correctly. Heat changes how the door’s materials behave, and a force setting that worked in February might not be right in June. Run the test described in the opener section. Do it before the first heat wave, not after. The difference between a door that reverses on a two-by-four and a door that doesn’t is the difference between a ten-dollar adjustment and a crushed child’s bicycle, or worse.
- Check the photoelectric eyes. Summer is when kids ride bikes in and out of open garages, dogs chase tennis balls through the door path, and the door sees more open-close cycles than any other time of year. Test the sensors. Clean the lenses. Align them if they’ve drifted.
- Assess weatherstripping for summer pest pressure. Ants, scorpions, mice, and the occasional snake are all more active in summer. A bottom seal with a crack at the corner is a door mat for pests. Inspect it in March so it’s sealed before they start moving.
September Checklist (Pre-Winter)
- Re-torque the hinge bolts and track brackets. Summer heat expands and contracts the door components, and a full season of heat cycling loosens fasteners. A bracket that’s gotten loose over August will rattle the track in November. Ten minutes with a socket wrench prevents a track bend that costs real money.
- Deep-clean the rollers and track after the dust season. This is the single most important September task. The dry season has deposited six months of mineral dust into every moving joint. Clean it out before the winter humidity turns it into a grinding paste. If you do nothing else on this entire list, do this.
- Test the opener’s battery backup, if you have one. Winter power outages are more frequent up here, especially during Santa Ana wind events and the occasional storm. If your opener has a battery backup, run a manual test. If it doesn’t, and you depend on the garage as your main entry point, consider whether that’s an installation worth doing before the winter weather patterns set in.
- Lubricate the torsion springs lightly. Winter moisture is when springs rust. A light coat of silicone on the coil surface before the fog season starts is cheap insurance against pitting.
- Inspect the door balance. Disconnect the opener and lift the door manually to halfway. It should stay there. If it sinks, the springs are wearing out. Catch it in September and you’re scheduling a repair on a Tuesday afternoon instead of an emergency on a January morning when the door won’t open and your car is trapped inside.
That’s the seasonal rhythm. Two sessions, about ten to fifteen minutes each, and they catch 90% of the failures we see on emergency calls. The rest of this guide and our more guides & resources walk through the how, the why, and the what not to do for each of the major components.
The Three-Point Ground-Level Spring Check
Let’s get one thing straight before we go any further: torsion springs contain a massive amount of stored energy. A single spring on a residential door is holding anywhere from 80 to 150 pounds of lifting force at rest, and when it breaks, it releases that energy in a fraction of a second. The metal whips through the air with enough force to shatter bone or sever fingers. You do not touch a spring, you do not adjust a spring, and you do not stand on a ladder under a spring with a wrench in your hand. That’s not a suggestion; it’s the difference between a ten-minute inspection and a trip to the ER. There is a reason every pro in this industry treats a door as “200 pounds riding on two springs.” Respect it.
That said, you can absolutely check spring health from the ground, no ladders, no tools, no risk. Here’s the three-point visual test. Do it every time you walk past the door. It takes ninety seconds.
- Look for rust and corrosion on the coil surface. Torsion springs sit above the door on the header. Stand back and look at the spring coils. Light surface rust is cosmetic and common in our climate. Heavy, flaking, pitted rust is not. Pitting creates stress risers, and stress risers become fractures. If you see deep rust or any flaking, the spring is running on borrowed time. A pitted spring can snap without warning, and it’s not a gradual failure. It’s an all-at-once event. Garage door repair in Valley Center for a spring that’s showing this kind of wear is a scheduled service call, not an emergency. That’s the goal.
- Look for gaps between the coils. A healthy torsion spring has tightly packed coils with even spacing. When a spring starts to fatigue, the coils develop gaps, usually starting near the center or the ends. You’ll see one or two coils that look “stretched” compared to their neighbors. That’s the steel telling you it’s losing tension. It might still work fine today. It’s not going to work fine for long. A spring with visible coil gaps should be replaced on your schedule, not on the day it snaps and leaves your car sealed inside the garage.
- Look for separation or wear at the winding cone and the stationary cone. The ends of the spring attach to cones: one fixed to the center bearing, one fixed to the torsion tube. From the ground, you can see whether the spring sits solidly against those cones or whether it has shifted, wobbled, or left a visible gap. If the spring is shifting on the cone, the set screws or the cone itself is failing, and the spring can come off the tube entirely. That’s a catastrophic failure while the door is in motion.
Ninety seconds. Three looks. That’s the entire spring check, and it’s safe from the ground. If any of the three points raises a question, call a professional before the spring makes the decision for you, or consult our Garage Door Warning Signs: A Valley Center Homeowner’s Reference Guide. We count spring cycles the way you count tire miles. A visual check tells you what’s left.
A door is 200 pounds riding on two springs. Respect it. If you see rust, gaps, or shifting, do not try to fix it yourself, and do not wait.
Caliche and Dust: The Silent Track Killer
Caliche is the word you’ll hear from anyone who’s gardened in Valley Center for more than a season: a hard, mineral-rich soil layer that forms when calcium carbonate cements sand and gravel together. It’s brutal on shovel blades. It’s also the source of the fine alkaline dust that our winds carry into every garage track, roller, and hinge. The dust itself is harmless sitting on top of the track. The problem starts when it works its way into the roller bearings, mixes with the lubricant inside, and turns into what’s essentially fine-grit sandpaper.
What Caliche Dust Does to a Door
- It grinds the roller bearings flat. A garage door roller is a small wheel with ball bearings inside. Those bearings are designed to spin with minimal friction inside a sealed or semi-sealed race. Dust gets in, mixes with the grease, and now every rotation is the bearing grinding against abrasive paste instead of smooth grease. The roller becomes harder to turn, which loads the opener motor, which shortens the opener’s life. When we pull a roller that’s been running a season in Valley Center dust without cleaning, the grease inside comes out the color and texture of a wet adobe brick.
- It scores the vertical tracks. Once a roller stops spinning freely and starts sliding instead, the wheel becomes a cutting tool. It wears a flat spot on the track’s inner surface. A scored track will eat every future roller you put in it, even after you fix the original problem. That’s the $15 fix becoming the $200 fix. The roller is cheap. The track replacement involves removal, realignment, and recalibration of the entire door system.
- It accelerates hinge pin wear. The hinges connecting each door panel have a steel pin. That pin moves every time the door cycles. Dust works into the pin’s contact surface and acts as a mild abrasive. Hinge wear alone is minor, but when every hinge on a sixteen-foot door carries extra friction, the opener is doing the work of opening a door that weighs twenty pounds more than its rated load. The motor doesn’t fail because it’s weak. It fails because you made it work twice as hard as it was designed to.
How to Clean the Tracks Without Water
- Close the door completely. That puts the tracks in their resting position and makes every surface reachable from the sides.
- Dry-wipe the interior track channel. Use a rag, an old sock, or a shop towel. Reach into the track channel as far as you can and wipe along its full length. You should see gray or tan dust on the rag. That’s the caliche doing its work. Be glad you’re removing it.
- Clean the roller wheels themselves. Wipe the surface of each roller to remove caked dust. Do not use a solvent. Solvents can dissolve the roller’s bearing grease, and then the roller is dry, and then it fails faster. A dry rag is all you need.
- Vacuum the bottom track bends. The bottom bend is where gravity collects everything that didn’t stick to the vertical track. A shop vacuum with a narrow nozzle gets into the bend. Don’t use compressed air; it just blows the dust deeper into the hinges and the spring.
- Check for stubborn buildup. If you find a patch of material that won’t wipe away, it’s probably compressed caliche, and it’s likely sitting in the bottom bend where the roller sits at rest. A small nylon brush or a plastic scraper will break it up. Do not use a metal scraper; you’ll scratch the track, and a scratched track is a new home for future dust.
Do this twice a year at minimum, and more often if you live on a dirt road or your garage faces an open field that gets worked during the dry months. If you live near a construction site or a newly graded lot, you’re getting extra dust and should add a mid-summer cleaning pass. The dust is going to come. The question is whether you remove it before it grinds your door down or after.
UV-Baked Weatherstripping: The Seal That Quits First
The bottom seal on your garage door is a rubber or vinyl strip that runs along the bottom edge and flexes to create a seal against the concrete. It exists for three reasons: keep water out, keep pests out, keep air out. In Valley Center, we get maybe fourteen inches of rain a year, and half of those inches fall in a single month. So the water role is real but occasional. The pest role is constant and summer-weight. The air role matters if you use the garage as anything other than a vehicle parking space: workshop, gym, storage, second refrigerator, whatever.
What kills the seal up here is the sun. A bottom seal on a south-facing or west-facing door in direct afternoon sun endures surface temperatures far higher than the air temperature. The vinyl starts to lose its plasticizers, which is the chemical process that keeps it flexible. It turns brittle. Then it cracks. Then pieces fall off. A seal with a cracked corner or a missing eight-inch section is doing three things simultaneously: letting dust in at the corners, letting ants and earwigs in through the gaps, and wrecking the thermal barrier you’re paying for every time you heat or cool the garage-adjacent space.
Here’s the check:
- Close the door and walk the bottom edge from inside. With the door closed and the lights off (or at least the garage interior darker than outside), look for any shaft of daylight coming under the door. A seal that’s doing its job shows no light. A cracked seal shows light at the cracks. A compressed seal shows a gap where the slab has settled or the seal has worn thin.
- Check for visible cracking and loss of flexibility. Press your thumb into the seal. It should give and bounce back. If it feels hard, if it feels brittle, if it cracks when you flex it, it’s done. That’s UV degradation. No product on the shelf reverses it. You replace the seal.
- Inspect the ends and the corners specifically. The ends of the seal are the first to fail because they’re the most exposed to both UV and mechanical stress from the door’s repeated compression. A seal that’s cracked at one corner but otherwise intact will still let pests and dust in, and it will continue cracking along the length as the brittleness spreads.
- Check for pest activity near the seal. Ant trails, earwigs, millipedes, roly-polies, or worse all concentrate at seal gaps because that’s the entry point. If you’re seeing indoor pest activity in the garage, the seal is the first place to look.
Replacement bottom seals are inexpensive relative to the problems a failed seal causes. The seal itself runs $20 to $40 for most doors. That’s a fifteen-minute replacement for a pro with the correct profile. The problem it prevents (a termite trail, a scorpion sting, a flooded garage during a winter downpour, or a rodent nest in your stored boxes) is multiples of that. For a door in direct Valley Center sun, budget for a replacement every three to five years. If the door faces north and is shaded, you might get seven to eight. That’s not a guess. That’s the accumulated record of what we’ve seen across hundreds of local doors.
While you’re checking the bottom seal, check the side and top weatherstripping too. These are the vinyl strips attached to the door frame, and they serve the same function on the vertical edges. They fail the same way: UV embrittlement, cracking, and eventual loss of seal. The same replacement logic applies.
What to Lubricate, What to Leave Alone, and One Product That Ruins Rollers
Lubrication is the maintenance task homeowners most often get wrong, and it’s not because they’re lazy. It’s because the hardware store sells them the wrong product and nobody tells them otherwise. The wrong lubricant doesn’t just fail to help; it actively accelerates wear, especially in a dusty environment like Valley Center. Here is the definitive answer for every component on your door.
What to Lubricate
- Roller stems and bearings (if the rollers are metal and serviceable). Many modern doors use nylon rollers with sealed bearings that do not need lubrication, but the metal stem where the roller meets the hinge gets a light shot. If your rollers are all-metal, the bearing area benefits from a drop of oil, but don’t overdo it.
- Hinge pins. Every hinge on every panel. A single drop or short spray on each pin. Work the door manually a few times after applying to distribute the lubricant.
- Torsion spring coils. Apply a light, even coat along the length of each spring. The goal is to protect the coil surface from rust, not to soak it. A spring that drips lubricant onto your head when the door opens was over-lubed. Wipe away the excess.
- Bearing plates at the ends of the torsion tube. These are the metal plates bolted to the header that hold the tube ends. A small shot at the bearing surface keeps the shaft spinning freely.
- The lock assembly and the jamb bracket pivot points. If your door has a manual lock bar or a jamb-mounted latch, it needs a light oiling once a year or it’ll freeze up exactly when you need it.
- The track channel itself. The track is not a lubrication surface. Rollers roll on the track; they don’t slide on it. Lubricant on the track does nothing but create a sticky film that grabs dust and converts it to paste. Clean the track. Never lubricate it.
- Nylon-coated cable sheaves or pulleys (on extension spring systems). The cables run over pulleys, and the pulleys are designed to run dry. Lubricant on the cable attracts dust and causes the cable to slip, fray, or bind.
- The garage door opener’s rail (on most modern models). If your opener uses a belt or chain drive, the rail is typically designed to run with minimal or no lubrication. Check your opener’s manual. Many models specifically instruct you not to lubricate the rail because the belt or chain and the sprocket work better dry.
- Anything plastic, nylon, or coated. White lithium grease and petroleum-based sprays can attack certain plastics and nylon components, causing them to swell, soften, or become brittle. If the part is not bare metal, the default is to leave it alone.
- Close the door.
- Disconnect the opener from the door using the red emergency-release handle hanging from the opener rail. (It’s the red cord with a plastic handle.)
- Lift the door manually to approximately the halfway point.
- Release it gently and observe.
- Place a solid object on the floor directly under the door’s path. A piece of wood, a cinder block, or a brick. The standard test uses a two-by-four laid flat.
- Close the door using the opener.
- The door contacts the object and should reverse direction within two seconds of contact.
- With the door open, press the close button and wait for the door to begin descending.
- Break the beam by passing your hand or a piece of cardboard through the space between the two photoelectric eye sensors, which are mounted near the bottom of the door track on each side.
- The door should immediately stop and reverse to the open position.
- Lubricating the tracks. The track is not a lubrication surface, and lubricant on the track turns Valley Center dust into grinding paste within days. Clean the track. Never lubricate it.
- Using WD-40 as a garage door lubricant. WD-40 displaces water and frees stuck parts. It does not lubricate bearings under load. It leaves a thin, tacky film that collects dust and accelerates roller wear. Use silicone or a purpose-made garage door lubricant.
- Ignoring a noisy door. A door that was quiet and got louder is telling you something. Grinding means bearing or gear wear. Rattling means loose hardware. Squealing means dry metal-on-metal contact. Each of these warnings is cheaper to address early than late.
- Skipping the balance test because the door “seems fine.” The balance test is how you catch spring fatigue before the spring fails. It takes one minute and requires no tools. Skipping it is how you end up with a snapped spring on a holiday weekend.
- Replacing the opener when the springs are the problem. If the door is hard to lift manually, the springs are done, and a new opener won’t fix that. The new opener will just burn itself out working against the bad springs. Check the springs first.
- Adjusting or replacing torsion springs themselves. This cannot be overstated. Torsion springs are under extreme tension, and the tools and technique required to service them are not something you learn from a video. Property damage is the best case. The window of outcomes goes down from there. This is a professional-only repair, full stop.
- Waiting until the door won’t open to call. Most door failures give warning signs for weeks or months before total failure: noise, slow operation, visible gaps in the spring coils, a sagging seal. The emergency call is almost always preceded by an ignored routine signal. Address the signal on your schedule, or address the emergency on the door’s schedule. Only one of those is cheap.
What Not to Lubricate
The One Product Otto Has Seen Ruin More Rollers Than Anything Else
WD-40. This is the product. It’s in every garage in America, it smells reassuring, and it’s the wrong tool for this job. WD-40 is a water displacer and a light penetrating oil. It is not a long-term lubricant. It does a fine job freeing a rusted hinge pin, but if you spray it on roller bearings, the light carrier evaporates quickly and leaves behind a thin film that is not adequate for the load and speed involved. The bearing then runs with less lubrication than it had before. Worse, the remaining film is tacky enough to collect dust, which accelerates the exact wear process we’ve been describing. We have repaired door systems where the rollers were destroyed within a season of WD-40 application. The homeowner meant well. The door paid for it.
The correct lubricant for garage door components is a silicone-based lubricant or a dry lubricant designed for this specific use. Look for one that labels itself as garage door lubricant, or use a 100% silicone spray. Silicone is the key because it stays slick, doesn’t attract dust the way oil-based products do, and is safe for most materials on a door. Apply it sparingly, wipe away any drips, and your door will thank you with years of quiet, smooth operation.
Lubrication schedule: twice a year, aligned with your March and September passes. If the door gets heavy summer use, an extra light coat in June doesn’t hurt.
Opener Tests That Catch Failures Before They Strand You
The opener is a motor, a gearbox, a logic board, a chain or belt, and a set of safety systems all bolted to your garage ceiling. Each component can fail independently, and they usually give warning signs before a total failure. The three tests below catch the most common failure modes before they become a Saturday morning with your car sealed inside the garage. These are passive tests: you run the door, you watch, you listen. No tools, no risk, no disassembly. If you need a replacement opener or want to talk through what makes sense, our garage door opener service in Valley Center covers LiftMaster, Chamberlain, Genie, and the rest of the major brands.
Test One: The Balance Test
A properly balanced door stays at the halfway point. It doesn’t drift significantly up or down. A door that sinks or slams down has worn springs or a spring adjustment that’s off, and the opener has been compensating for the imbalance for months. That compensation is what kills openers. The motor and the gear assembly are doing the extra work of lifting a door that the springs should be lifting. Fix the springs, and the opener gets years of life back. Ignore the balance, and you’ll replace both.
Test Two: The Auto-Reverse Force Test
If the door continues to close against the object, or if it flinches but keeps going, the force setting is too high. This is the single most important safety test on the door system. It exists to prevent the door from crushing a child, a pet, or an object that happens to be in the path. The force adjustment dial or setting is located on the opener unit itself. Every opener has one. Adjust it per the manufacturer’s instructions, which typically means reducing the force until the door reliably reverses on the test object.
Test Three: The Photoelectric Eye Test
If the door continues closing through the broken beam, the sensors are misaligned, blocked, or failed. Check that the indicator lights on each sensor are lit (most modern units have a small LED). Wipe the lenses with a dry cloth; a year of dust buildup can block the beam enough to disable the safety function. If the lights are on but the door doesn’t reverse, the sensor is sending a false “clear” signal and needs replacement. This is a safety-critical failure. Replace it before the door hurts someone.
What to Listen For
While running any of these tests, listen. A healthy opener has a consistent, even motor pitch regardless of door position. A grinding sound from the gear assembly means the gear teeth are wearing, and once the gear strips completely, the opener is finished. A chain drive that’s snapping or rattling has a loose chain or a worn sprocket. A belt drive that slips is losing tension or the belt is cracking. Any new sound that wasn’t there last month is a diagnostic clue. Note it, mention it when you call, and get ahead of the failure.
Finally, if your opener is more than twelve years old, treat it as a retirement-age piece of equipment. It may run another five years. It may fail next week. A new opener installation is a scheduled half-day job with an upfront price, not an emergency. Think about replacement before the current one makes the decision for you.
If the opener is straining, the problem is almost never the opener. It’s the door. The opener is the canary in the coal mine; when it works hard, it’s telling you about spring fatigue, track friction, or roller failure. Listen to it.
Common Mistakes to Avoid
When to Call a Professional
Some things on this checklist are homeowner work: inspecting, cleaning, lubricating, testing, and evaluating. Some things are not, and knowing the line is part of being a cautious, capable homeowner. Call a professional when you see any of the following: a torsion spring with visible rust, gaps, or shifting (do not touch it); a door that has come off its track or is binding against the track; any frayed or broken cable; any damage to a panel that affects structural integrity; any opener failure involving the logic board, capacitor, or gear assembly; or any situation where you’re standing there with a wrench thinking, “I could probably just adjust this.” If you’re in that situation, the answer is no. Call someone who’s done it every day since 2004.
We’re the local shop in Valley Center, and we mean that literally: owner-operated, locally owned, published address, license number you can verify before the truck ever shows up. Otto quotes the job on the phone and holds that number when he arrives. The estimate is free, and you’ll know the price before any work starts. Call (760) 906-8603 and a live person answers, 24/7. Not a call center. Not a menu. A person who knows doors. Garage door repair in Valley Center is what we do, and we stand behind every job with a 90-day written promise: if it’s not done right, we make it right.
Frequently Asked Questions
A garage door tune-up and inspection in Valley Center typically runs between $75 and $150 for the full service, depending on the size of the door and the specific components. That applies to what a local pro charges for the labor and the standard lubrication and adjustment work; parts are additional if something needs replacement. Otto’s Garage Door offers free estimates in Valley Center, so you know the exact price before any work or parts are ordered. Call (760) 906-8603 for a quote on your specific door.
Twice a year is the right cadence for Valley Center specifically. The March pass prepares the door for summer dust and heat; the September pass cleans out the accumulated caliche and prepares for winter moisture and the occasional freeze. In between those two half-year checkpoints, a visual spring check and a quick track wipe after any heavy wind event is all the extra attention most doors need.
Why does my garage door make a grinding noise when it opens?
A grinding noise is metal-on-metal contact with inadequate lubrication, and it most commonly comes from the roller bearings, the hinges, or a dry bearing plate on the torsion tube. In Valley Center, the usual cause is caliche dust working into the bearing surfaces and mixing with the lubricant into an abrasive paste. Cleaning the tracks, lubricating the pivot points with a silicone-based product, and removing caked dust from the rollers usually resolves it. If the grinding continues after a proper cleaning and lubrication, you’re likely hearing gear wear in