
Last updated September 10, 2026
Full 25-point door and opener safety check with every visit - springs, cables, rollers, tracks, and your LiftMaster or Chamberlain opener included
You get a price before we start. It does not change when the truck arrives.

 Before
 After
After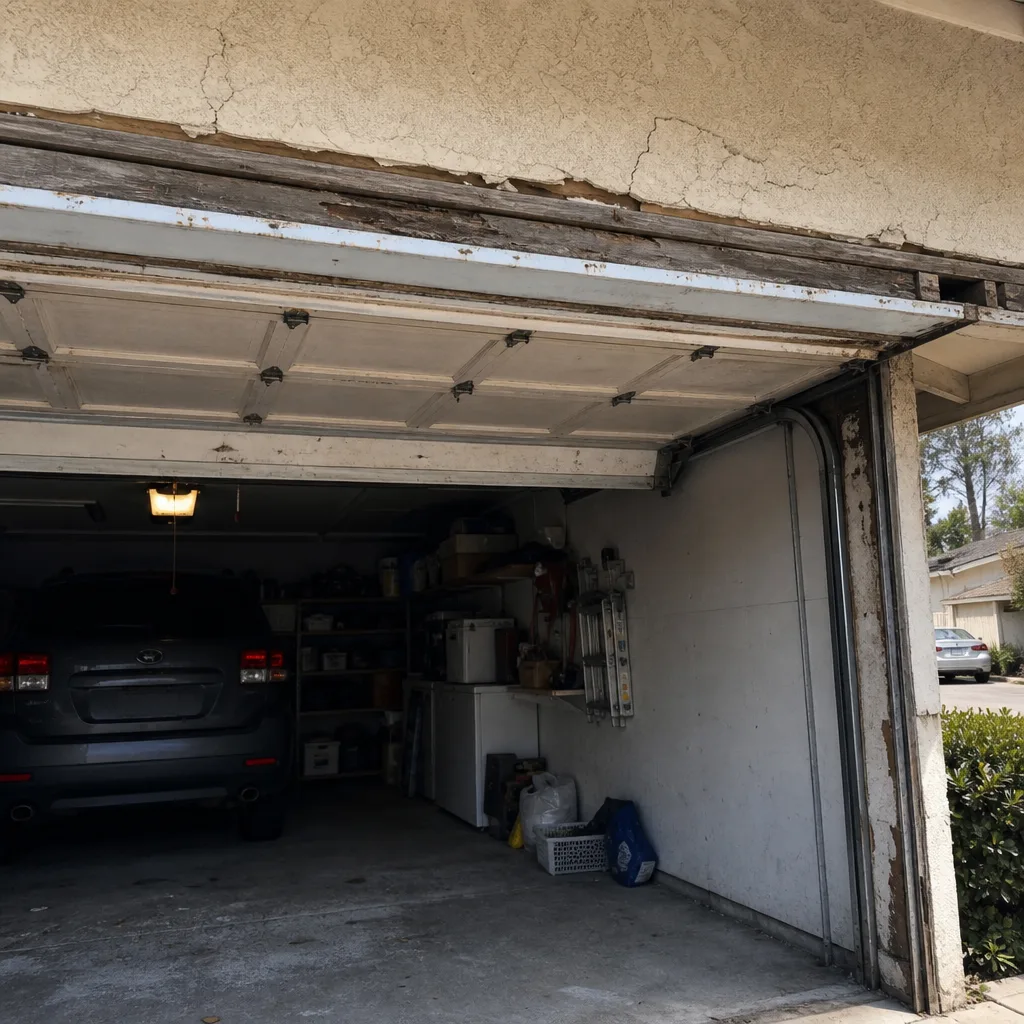 Before
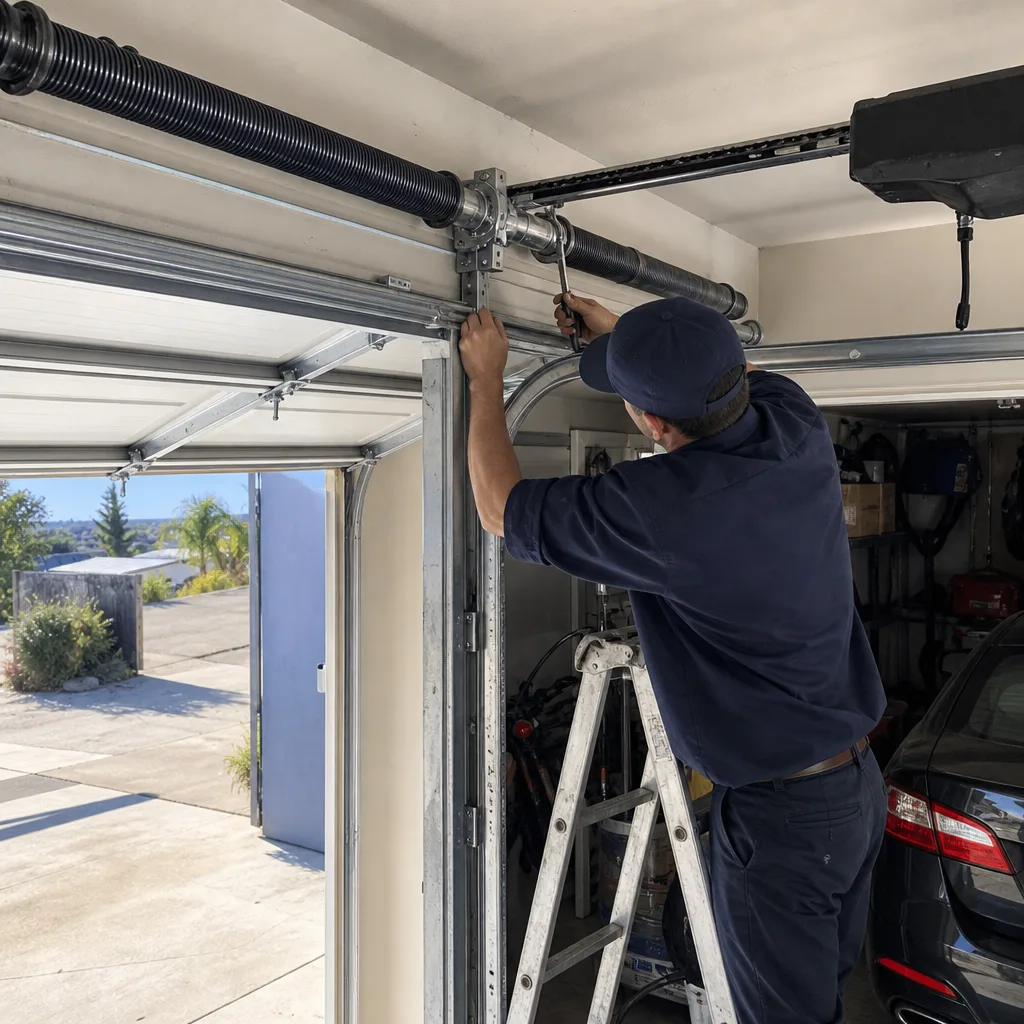 After
After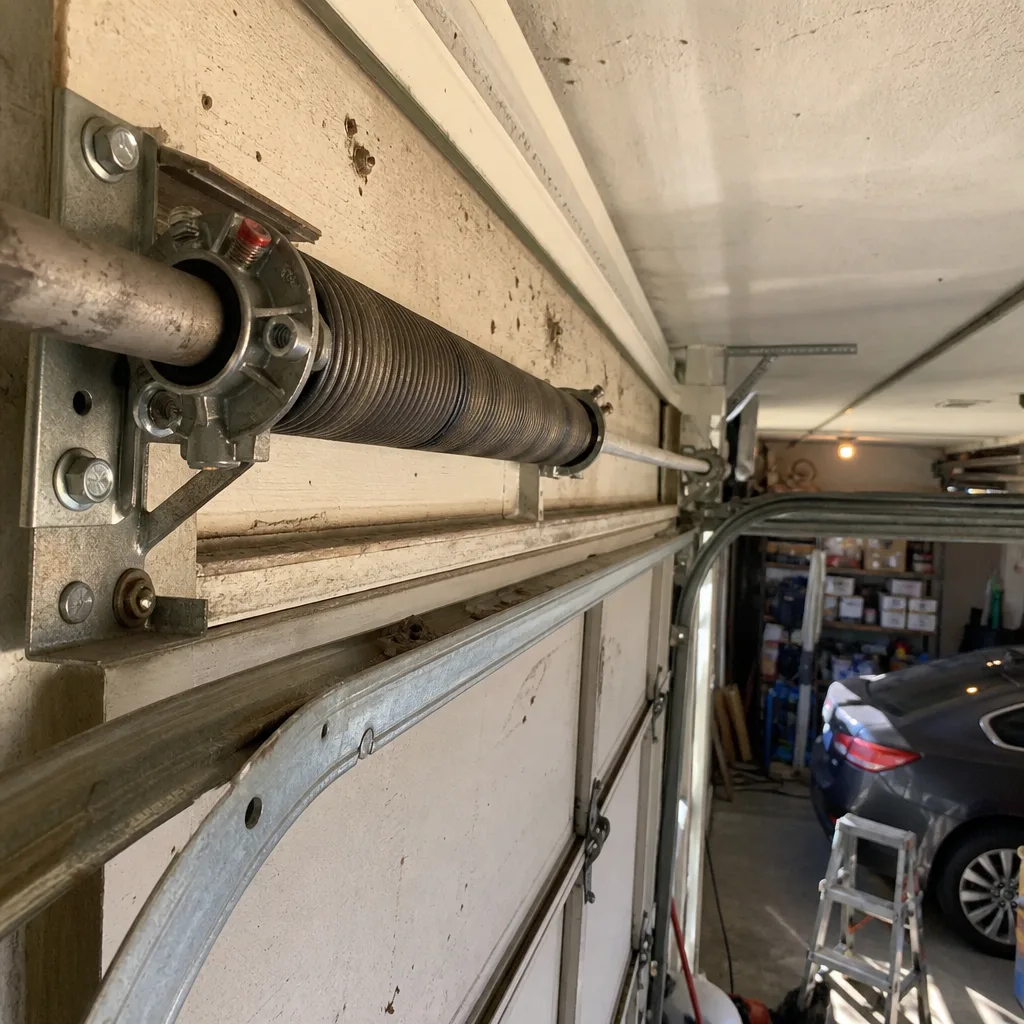 Before
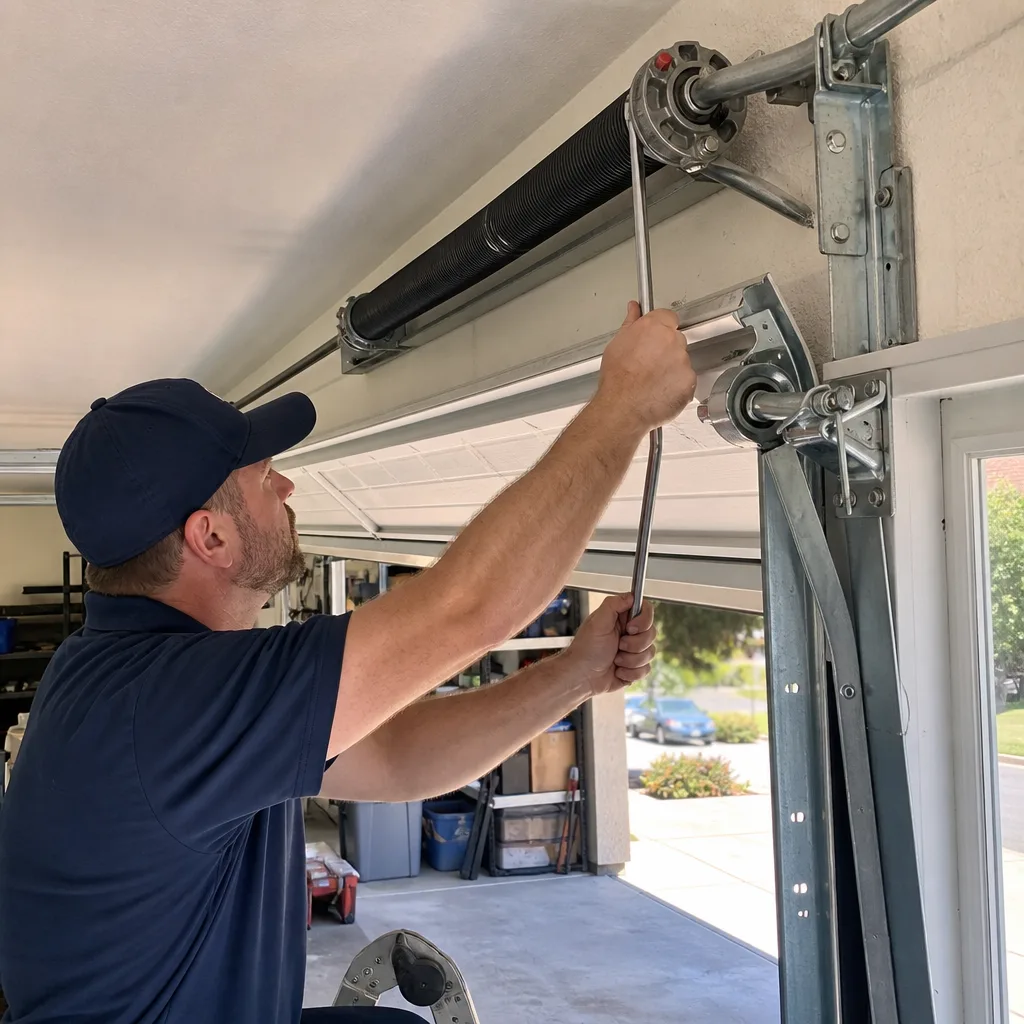 After
AfterDIY vs Professional Garage Door: The Valley Center Homeowner’s Decision Guide
There are maybe a dozen garage door tasks a handy homeowner can do safely with a YouTube video and a hardware store run. Torsion spring replacement is not on that list, and every ER in San Diego County has seen what happens when someone treats it like it is. This guide draws the line in a specific place: which jobs you can genuinely handle at your house in Valley Center on a Saturday afternoon, which ones need a pro, and the honest cost math behind both choices. For Garage Door Cost Breakdown: The Valley Center Homeowner’s Reference for 2026, see our dedicated breakdown. By the end, you’ll know exactly where you stand before you pull a single bolt.
Quick Answer
Most garage door maintenance tasks, like lubricating rollers, replacing weatherstripping, and aligning safety sensors, are genuinely DIY-safe for a homeowner with basic tools and about an hour. For a complete walkthrough, see our Garage Door Repair Maintenance Checklist for Valley Center Homeowners. But torsion spring replacement, cable work, and track repair under tension are categorically different: they involve stored mechanical energy that can maim or kill, and they’re the jobs where we see a $40 DIY attempt in Valley Center turn into a $600 professional repair several times a year.
Table of Contents
- Tasks You Can Safely Do Yourself (and How Long They Actually Take)
- Why Torsion Springs Are Categorically Different
- The Valley Center-Specific Case for Professional Work
- The Three Questions That Tell You If a Job Is in Your Range
- What DIY Mistakes Cost to Fix Professionally
- Tools vs. Training: What You Actually Need for Each Job
- Common Mistakes to Avoid
- When to Call a Professional
- Frequently Asked Questions
- The Bottom Line
Tasks You Can Safely Do Yourself (and How Long They Actually Take)
Let’s start with the good news. There are real maintenance jobs on a garage door that don’t require special tools, special training, or a death wish. You can do these at your Valley Center home with nothing more than a step ladder, a socket set, and a can of the right lubricant. Here’s the honest list, with the time each one actually takes when you’re not rushing.
1. Lubricating Rollers, Hinges, and Springs
This is the single highest-value DIY job on the door, and it takes about 20 minutes. What you’re doing is coating the rollers and hinges with a garage door specific lubricant. Not WD-40, which is a solvent and will actually strip the existing grease. You want a white lithium or silicone spray made for garage doors. The payoff is immediate: a door that was groaning like a stuck pig in the Valley Center summer heat will quiet down on the first cycle. Do this twice a year, and you’ll add years to the rollers. A caution, and this is important: you can lubricate the springs, but you don’t touch anything else about them. Spray the torsion spring lightly along its length, step back, and leave it alone. The spring is under tension even when the door is closed, and it is absolutely not where you put a hand or a wrench.
2. Replacing the Bottom Weatherstripping
The rubber seal along the bottom edge of the door gets brittle after a few Valley Center summers. When it cracks, you’re letting dust, mice, and hot air into the garage, and the fix is genuinely easy. Slide out the old strip, cut the new one to width with a utility knife, and slide it back into the track. You’ll spend more time sweeping the garage floor than installing the seal. Materials run $15 to $30 at any hardware store, and the whole job is done in half an hour. One tip from someone who’s done a few hundred of these: do it on a warm afternoon, not a cold morning. The rubber is more flexible when it’s warm and won’t tear as you feed it in.
3. Aligning the Safety Sensors
If your door reverses for no reason or refuses to close all the way, the photo-eye sensors near the bottom of the tracks have probably drifted out of alignment. They’re the small boxes on either side, about six inches off the ground, with little green or red lights. The fix is usually just a matter of loosening the mounting bracket, aiming one sensor at the other until the light goes solid, and tightening it back down. Ten minutes, maybe. If the door still won’t close after you’ve aligned them, you’ve got a wiring issue or a bad sensor, and that’s where you stop and call someone who’s earned their stripes on Garage Door Repair in Valley Center.
4. Programming a Remote or Keypad
This is pure button-pushing, not mechanical work. Every opener has a Learn button, usually on the back or side of the motor housing, and the remote links up in about 30 seconds. If you’ve lost the manual, the model number is printed on the opener, and the instructions are a Google search away. No danger here, other than the frustration of realizing the remote you bought online isn’t compatible. A quick check of the opener’s brand and the remote’s frequency before you click Buy will save you a trip back to the store.
5. Minor Track Cleaning
Over time, the vertical tracks gather dust, cobwebs, and the occasional dried wasp nest, especially in a rural area like Valley Center where the open garage is a magnet for both. You can wipe the tracks down with a rag and a little degreaser. What you should not do is loosen the bolts that hold the tracks to the wall. The tracks carry the weight of the door through every cycle, and if you get one out of alignment, the door will bind, the opener will strain, and you’ve turned a cleaning job into a repair call. Wipe, don’t adjust.
Key Takeaway: The DIY-safe list is real but short. Lubrication, weatherstripping, sensor alignment, remote programming, and a light track wipe-down. Everything else on a garage door involves weight, tension, or both. If you want a broader look at what goes into keeping a door healthy long-term, start with Otto’s Garage Door home page for the full picture.
Why Torsion Springs Are Categorically Different
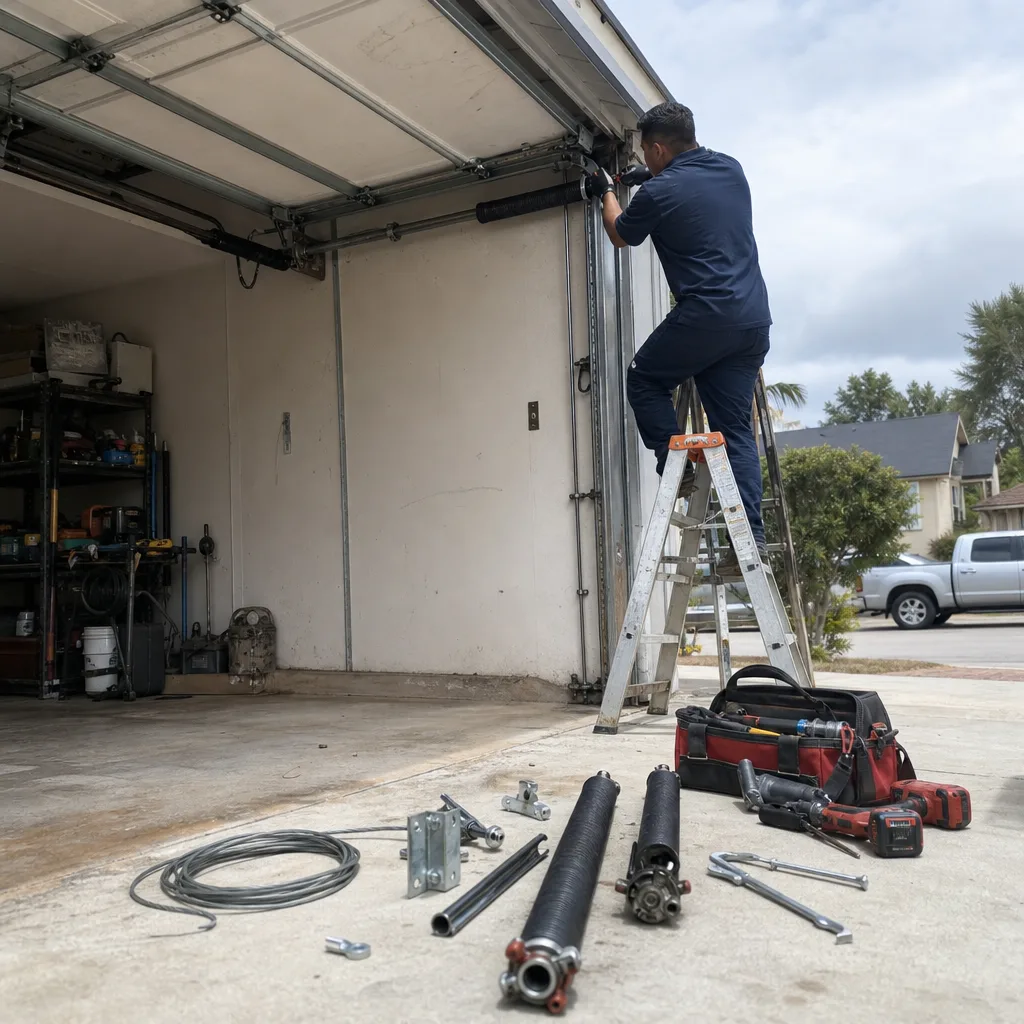
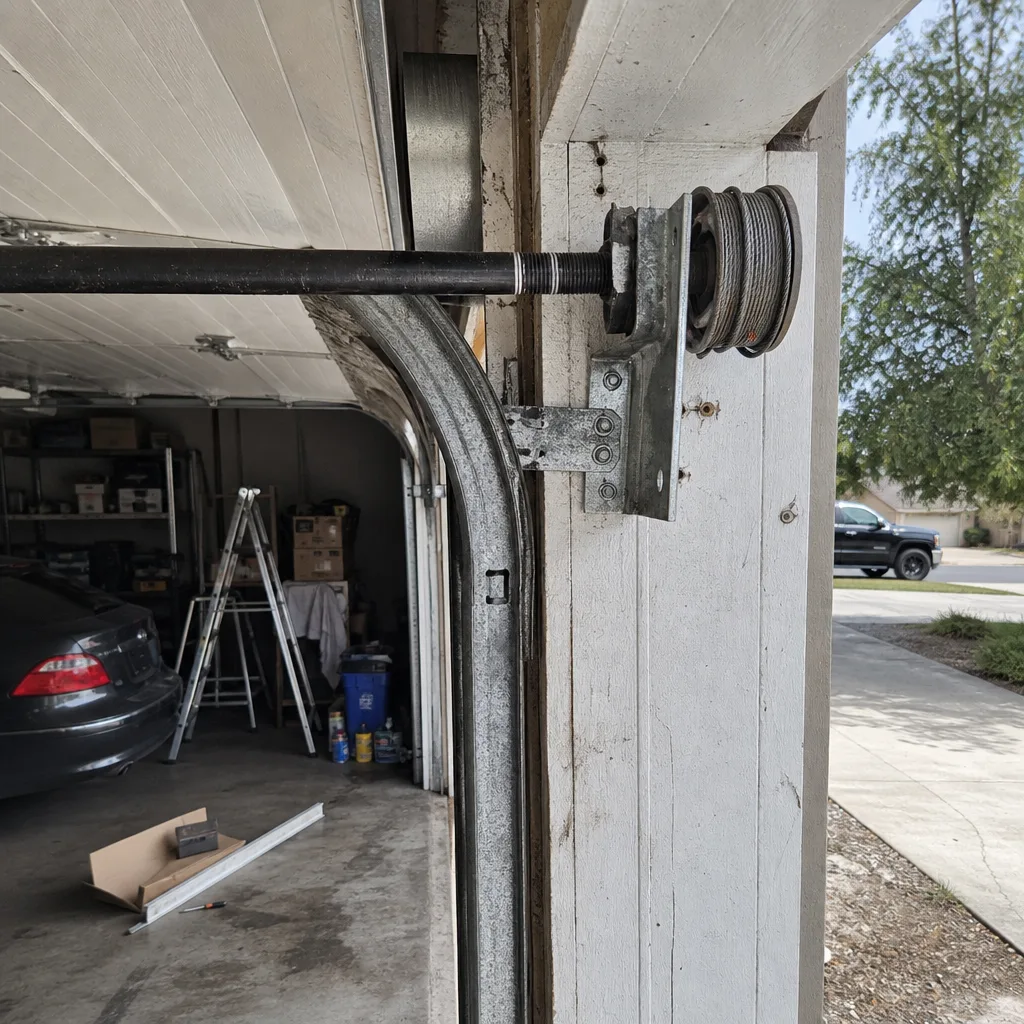
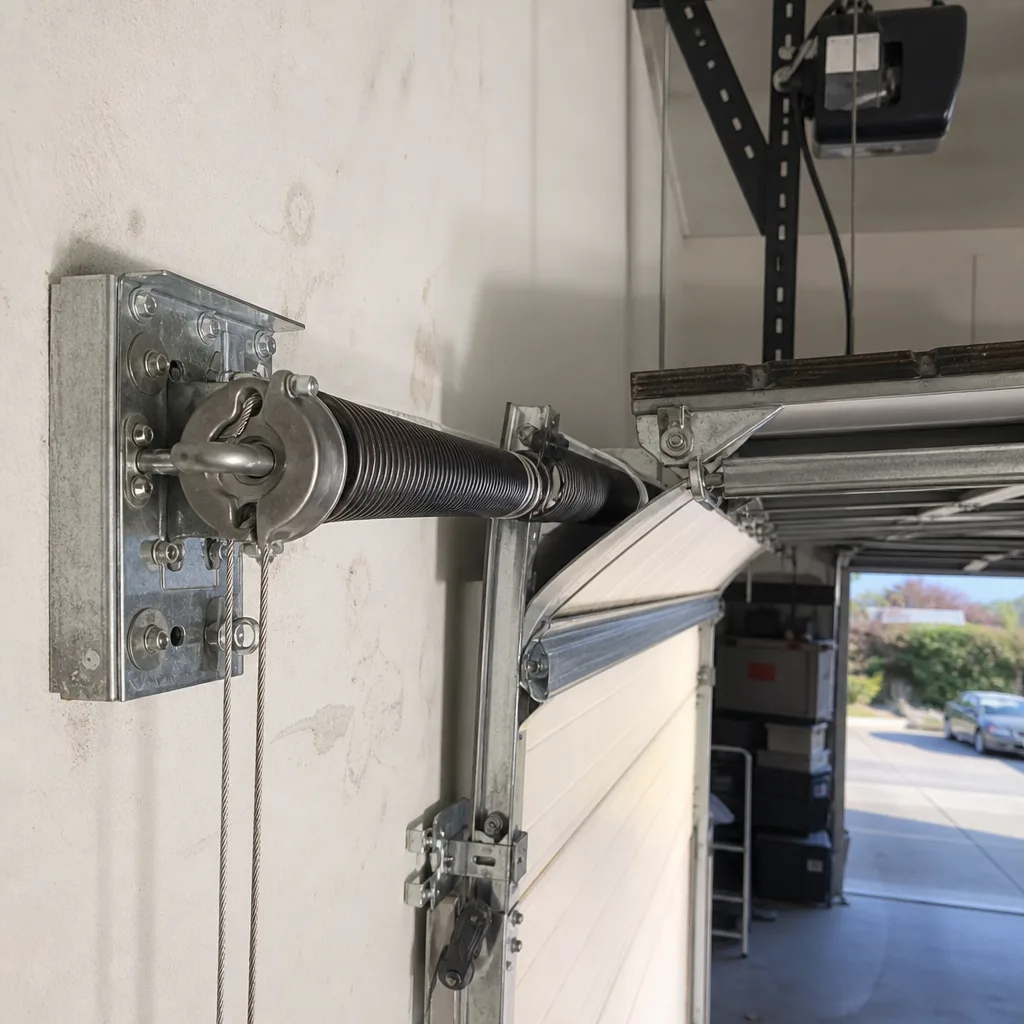
A garage door is 200 pounds of steel riding on two springs. Respect it. That’s not a slogan; it’s the physics of the thing. The torsion spring above your door isn’t like a car shock absorber or a screen door spring. It’s a tightly wound coil under massive tension, and its entire job is to store enough energy to lift hundreds of pounds every single cycle. The energy is already in there, wound up and waiting, whether the door is open or closed. That’s what makes it unlike anything else in your house.
When a torsion spring fails, it doesn’t fade. It snaps. One second it’s holding a few hundred pounds of stored torque; the next it’s released all of it into whatever is nearby. The winding cone spins, the spring unwinds in a fraction of a second, and anything in the swing radius, a hand, a forearm, a face, takes the full force. In our experience in Valley Center, where homes are spread out and the nearest neighbor might be a quarter mile away, the stakes are higher: the time between an accident and an ambulance is longer than it would be in Escondido. That’s not a scare tactic. It’s the governing reason this guide separates torsion spring work from every other task on the door. For the full legal and permitting picture, read Garage Door Permits, Codes & Inspections in CA: What You Need to Know.
The specific danger is in the winding and unwinding. Installing a torsion spring requires winding bars: two solid steel rods that slot into the winding cone, then get used to add tension a quarter-turn at a time. If a bar slips, the cone spins backward with everything it’s got. The video tutorials make it look controlled. What they don’t show is the instinct to grab the bar when it starts to go, which is exactly the instinct that puts a person in the ER. Otto once told a customer, “I count spring cycles the way you count tire miles. I’ll tell you what’s left on yours.” That count only matters because he’s been winding them since 2004, and he still treats every single one like it’s angry.
If your spring is broken, the door won’t lift, or it’ll lift a few inches and slam back down, and the opener motor will scream against the dead weight. You can recognize the break by the two pieces of the spring separated, visible even from the ground. Do not try to pull the emergency release and muscle the door up. Do not touch the springs. Call a pro. This is the one line in the DIY-versus-pro debate that isn’t blurry. It is non-negotiable.
The Valley Center-Specific Case for Professional Work
Valley Center isn’t a suburb where the big-box hardware store is six minutes away and there’s a parts counter for every specialized component. It’s rural San Diego County, which means a few realities that homeowners in Carlsbad or Poway don’t have to think about. The first is parts access. If you’re mid-repair on a Saturday afternoon and realize you need a specific bracket, a matching cable length, or a torsion spring gauge, you’re not running to a local shop that has it. You’re driving down the hill to Escondido, and even then, most residential torsion springs aren’t stocked on a shelf in the sizes and cycle ratings that match your door. We carry them on the truck because a professional who serves Valley Center has to. A DIYer learns that lesson the hard way, usually after the door is already taken apart.
The second reality is code and permits. Certain garage door jobs in San Diego County, including structural changes and some new door installations, are supposed to be permitted, and the county verifies that the work was done to standard. A licensed contractor pulls the permit, schedules the inspection, and answers for the work. A homeowner who skips the permit discovers it at the worst possible time: when they’re trying to sell the house and the escrow report flags the unpermitted change to the structure. That’s an expensive fix, and it’s one of the quiet reasons a professional is sometimes the cheaper option when you do the math over five years instead of five minutes. For new door work specifically, we walk through the permit questions on our Garage Door Installation in Valley Center page.
The third reality is accountability. When you hire a licensed contractor in Valley Center, you’re hiring someone with a published address and a license number you can verify before the truck arrives. If the work isn’t right, you have recourse: a callback, a warranty, a complaint process. If your own repair isn’t right, the callback is you, standing in the garage on a Sunday night with a broken door and a vehicle sealed inside. We answer the phone at nine at night because we know that feeling. The person who does the work themselves doesn’t get to make a single call and have it fixed for free.
The Three Questions That Tell You If a Job Is in Your Range
Before you start pulling bolts, there’s a way to evaluate your own skill level honestly. It takes two minutes and it’s more accurate than any YouTube confidence boost. Ask yourself these three questions, and be honest. The answers split every garage door job into DIY-safe or call-a-pro.
Question 1: If this goes wrong, is the failure annoying or dangerous?
A misaligned sensor is annoying. A misaligned track under load is dangerous. A stripped bolt on a hinge is annoying. A torsion spring slipping is dangerous. The simplest filter is this: if the worst-case failure mode draws blood, leave it to someone whose license depends on not drawing blood. If the worst case is a door that won’t open until someone comes out anyway, you can afford to try it yourself.
Question 2: Can I see and touch every part of this job without putting my hands near something under tension?
If the answer is yes, you’s in safe territory. Replacing a remote, cleaning a track, lubing a roller, all of these happen on parts that aren’t storing energy. If the answer is no, if any part of the job requires reaching past a spring, handling a cable, or loosening a bracket that another part of the door is pulling against, you’re in the danger zone. There’s no version of this where “I just won’t touch the spring” works, because torsion springs sit exactly where your hands need to go for half the jobs on the door.
Question 3: If I get this half apart and realize I’m out of my depth, what then?
This is the one DIYers never ask and always regret. A garage door isn’t like a shelf. You can’t leave the door half-disassembled and go watch the game. A door that’s partially unbolted is a door that can shift, drop, or fly apart, and your car is stuck on the other side until it’s fixed. If you have a plan for that moment, a pro who answers on a Sunday, you’re fine. If your plan is to figure it out when you get there, the honest answer is that you aren’t ready for the job. In Valley Center, the isolation that makes the place peaceful means the guy who comes to rescue a half-done job is a lot farther away than he’d be in town. We’ve been that guy more times than we can count, and the job always costs more when we’re finishing someone’s started work than when we’re doing it from scratch.
What DIY Mistakes Cost to Fix Professionally
This isn’t a scare section. It’s an honest cost-benefit section, because the math is real and we see it several times a year in Valley Center. A homeowner watches a video, buys a $40 part, and the repair goes sideways. By the time we’re called, the door is in worse shape than before the part was touched. Here’s what the actual numbers look like.
- Bent track section: A homeowner loosens the track bolts to free a stuck roller, pries against the track, and kinks it. New track section, realigned. $180-$320.
- Stripped hinge bolt holes: Using the wrong size bolt or over-torquing the hinge screws strips the door’s frame. The fix is drilling and re-tapping, or replacing the hinge and backing plate. $120-$250.
- Unwound torsion spring: A homeowner tries to “release some tension” to make the door lighter, loses control of the winding bar, and the spring unwinds violently. Door dead, spring still installed but untensioned, and the homeowner is rattled. Re-winding and balancing the door. $150-$350.
- Fallen door from cable removal: The homeowner removes a cable to “inspect” it, and the door drops because the other cable was the only thing holding it. In the best case, the door lands on something soft and nobody’s under it. Full reset, re-cable, spring adjustment. $250-$500.
- Opener gear stripped from dead-lifting: With the spring broken, the homeowner pushes the button repeatedly to “get it to work.” The opener’s plastic gear strips against the load. New gear assembly or new opener. $180-$450.
The pattern in these numbers is consistent: the initial DIY part was usually under $50. The professional repair is usually over $200. In the worst cases, where a spring or cable was involved, it’s over $400 and the homeowner spent a Saturday making the problem worse. We’re not saying every DIY attempt ends this way. Plenty of people lube their rollers and replace their weatherstrip and never have a problem. The distinction is whether the job was on the safe list at the top of this guide, or whether it was a tension-bearing job attempted with a wrench instead of winding bars and training.
Tools vs. Training: What You Actually Need for Each Job
There’s a persistent myth that professional garage door work is expensive because the tools are expensive. It’s mostly the opposite. The tools for most pro jobs are basic: a socket set, a ladder, winding bars for springs, a torque wrench, a level. What you’re paying for isn’t the tool. It’s the training to know what happens if the tool slips, and the judgment to know when a door isn’t behaving the way it should.
Compare the two jobs. Replacing a torsion spring professionally requires winding bars and about an hour of training on top of years of experience to make it routine. Replacing a torsion spring as a DIYer requires buying the winding bars, watching hours of video, and then doing the most dangerous job in residential home repair without a mentor. The tool cost is roughly the same: $30 to $50 for the bars. The skill gap is the entire job. In our own work, including across all the major openers from LiftMaster to Chamberlain to Genie, if the opener is straining, the problem is almost never the opener. That sentence alone is worth more than any tool you can buy: when the motor sounds wrong, the cause is almost always a door that’s out of balance, and the fix isn’t a new motor, it’s a door that’s been properly adjusted.
What you actually need for the DIY-safe list is a $15 can of garage door lubricant, a utility knife, a step ladder, and a rag. That’s it. For everything else, the tool list looks short on paper, winding bars, sockets, a level, but the real list includes cycle ratings, cable pressure math, and a working knowledge of what a door sounds like right before it fails. That second list doesn’t come from a hardware store. It comes from doing this every day, which is exactly what Otto’s Garage Door has been doing in Valley Center since 2004, and it’s why the name on the van is the same name on the license and the invoice.
If your dilemma involves the opener rather than the door itself, the line gets a little softer. Opener diagnosis is partly electrical, partly mechanical, and a lot of openers fail simply because the door under them was out of balance for years. Our Garage Door Opener in Valley Center page walks through the common failure modes and what’s fixable versus what’s replaceable. A Craftsman opener from 15 years ago that’s grinding its gears is probably a replacement. A LiftMaster that’s just lost its travel limits is a reprogramming job. Knowing which is which is the training part.
Common Mistakes to Avoid
- Treating WD-40 as garage door lubricant: WD-40 is a solvent. It’ll strip the grease off your rollers and leave them running dry within a week. Buy a white lithium or silicone spray made for garage doors; it’s a different aisle in the hardware store.
- Loosening track bolts to “adjust” the door: The tracks on both sides have to stay perfectly parallel under load. Loosen one bolt on one side and the door will bind, the rollers will wear unevenly, and you’ll be calling for a track realignment that costs more than the original problem.
- Pulling the emergency release while the door is up and the spring is broken: The release cord disconnects the opener from the door but does nothing to hold the door up. If the spring is broken, the door will come down, and 200 pounds of moving steel does not care where you’re standing.
- Assuming all torsion springs are interchangeable: They aren’t. Springs are sized by wire gauge, inside diameter, length, and cycle rating. Installing the wrong spring means the door either won’t balance or the spring fails early, which is the expensive kind of false economy.
- Ignoring a door that’s been getting harder to open: A door doesn’t gradually get heavier for no reason. It’s telling you the spring is losing tension or the bearings are going. By the time you notice, the fix is cheaper than it will be after the failure.
- Buying the cheapest remote online without checking compatibility: Not every remote works with every opener, and the frequency and coding matter more than the brand name. Match the model number before you click Buy, or budget for the return trip to the store.
- Using a car jack to lift a fallen door: This one shows up in YouTube comments and it’s a fast way to turn a door problem into a hospital problem. A jack isn’t wide enough to distribute the weight, and when the door slips, it goes sideways.
When to Call a Professional
Call a professional when the job touches the torsion springs, the cables, or the bottom brackets, any part of the door that is under tension even when the door is standing still. Call when the door has come off its tracks, when it’s jerking or uneven, when the opener is making a grinding sound, or when you’ve found yourself on question three of the skill-honesty test with no good answer. In Valley Center, the cost of a service call is cheap compared to the cost of a mistake, and the wait for parts is shorter when the truck already carries them. Otto’s Garage Door offers free estimates in Valley Center, and the price quoted on the phone is the price on the invoice. Call (760) 906-8603 before you pull the first bolt on a job you’re unsure about.
Frequently Asked Questions
Garage door spring replacement in Valley Center typically runs $180 to $340 per spring including the spring, installation, and balancing of the door, with the final price depending on the spring’s size, cycle rating, and whether you’re replacing one spring or both. Most pros recommend replacing both springs at the same time since they wear at roughly the same rate. Call (760) 906-8603 for an exact quote on your door, estimates are free and the price is quoted and agreed before any work starts.
No. Even if you’ve watched the videos, torsion spring replacement requires winding bars, training, and the judgment to handle a component that can release hundreds of pounds of stored energy in a fraction of a second. This is the one job where the DIY-versus-pro line isn’t blurry. A professional carries the winding bars, the right spring for your door’s weight and cycle count, and the experience to do it safely.
You can safely lubricate rollers, hinges, and springs with a garage door specific spray; replace the bottom weatherstripping; align the photo-eye safety sensors; program remotes and keypads; and wipe down the tracks. These jobs don’t involve touching anything under tension and they’re all doable in under an hour with basic tools.
A standard torsion spring is rated for roughly 10,000 cycles, which translates to 7 to 10 years of normal use in a Valley Center household, though the dry heat and temperature swings in the inland valleys can shorten that if the door isn’t balanced. If your family cycles the door four or more times a day, consider an upgraded high-cycle spring rated for 25,000 to 50,000 cycles, it costs more up front but avoids a second replacement during your ownership.
If the opener lights up but the motor won’t move the door, it’s usually not the opener itself. The most common cause is a broken torsion spring, which leaves the door too heavy for the opener to lift, and the motor either strains or shuts itself off as a safety response. A secondary cause is stripped gears inside the opener, which happens when the motor has been forced to fight a heavy door for months. Get the door’s balance checked before replacing the opener; if the opener is straining, the problem is almost never the opener.
With Otto’s Garage Door, no. The price quoted on the phone is the price on the invoice, and the number is agreed before any work begins. The only time a quote changes is if you approve additional work after the technician finds something else, and even then, the additional work is quoted and approved separately before it starts. We also honor a free second opinion on any written estimate, no trip charge inside the home county, and a 10% discount for seniors and veterans, always. Call (760) 906-8603 with the details of your door and get a real number before the truck rolls.
The Bottom Line
The DIY-versus-pro question for garage doors in Valley Center isn’t about whether you’re handy. It’s about whether the job stores energy. Lubricate, align, replace the weatherstrip, and you’ve saved yourself a service call and owned your maintenance honestly. Touch the springs, cables, or tensioned tracks, and you’ve crossed into the territory where a $40 mistake becomes a $400 repair and where the cost isn’t measured only in dollars. Hire a local pro with a published address and a license you can verify, someone who’ll be at the hardware store on Saturday and will answer when the door fails on Sunday. For more guides & resources, visit our blog. Otto’s Garage Door has been that someone in Valley Center since 2004, and we’ll be glad to quote your job, whether it’s on the safe list or the call-a-pro list.
Written by Otto Reinhardt, Owner at Otto’s Garage Door, serving Valley Center since 2004.